Change Drawer to Back Button After Hitting Search Feature Android Studio
How to Add and Customize Back Button of Action Bar in Android?
The action bar (sometimes referred to as the app bar), if it exists for an activity, will be at the top of the activity's content area, typically directly underneath the status bar. It is a menu bar that runs across the top of the activity screen in android. Android ActionBar can contain menu items that become visible when the user clicks the "menu" button. In general, an ActionBar composed of the following four components:
- App Icon: App branding logo or icon will be shown here
- View Control: A dedicated space to display the Application title. Also provides the option to switch between views by adding spinner or tabbed navigation
- Action Buttons: Major actions of the app could be added here
- Action Overflow: All unimportant action will be displayed as a menu
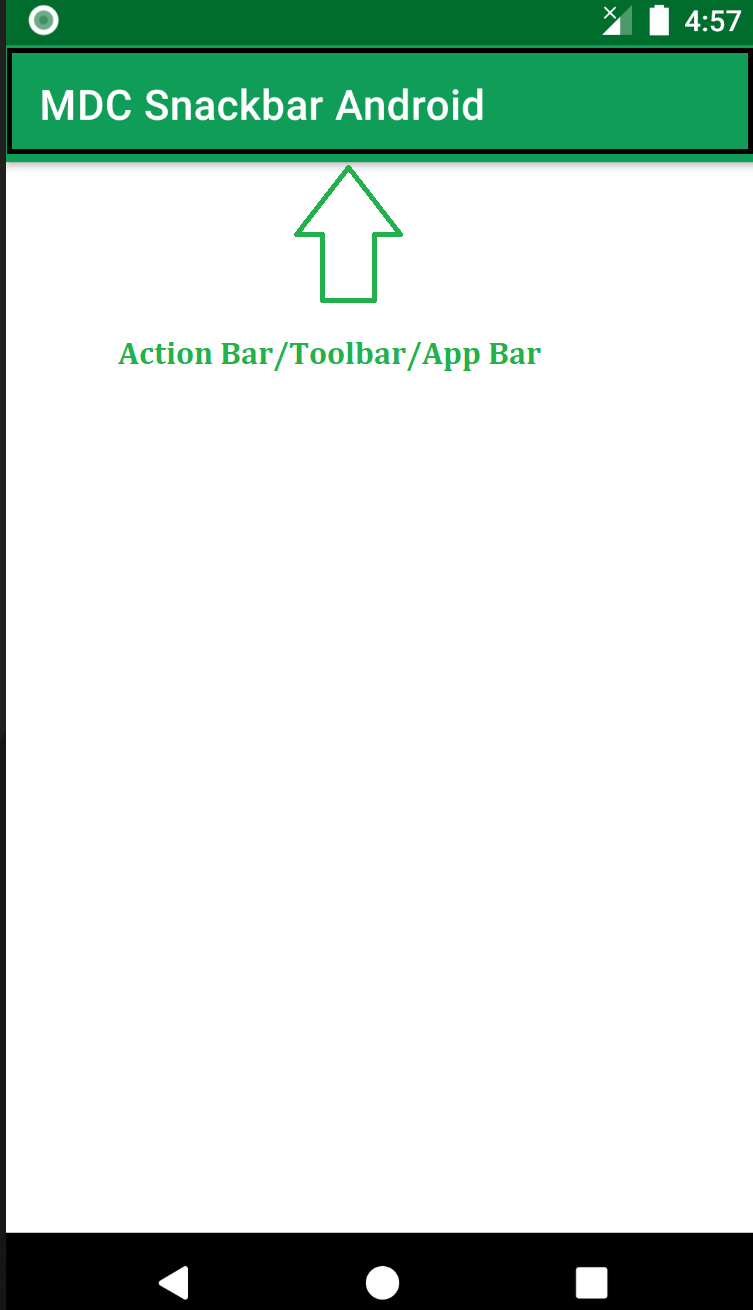
Below is a sample image to show where the Action Bar/Toolbar/App Bar is present on an android device.
Attention reader! Don't stop learning now. Get hold of all the important Java Foundation and Collections concepts with the Fundamentals of Java and Java Collections Course at a student-friendly price and become industry ready. To complete your preparation from learning a language to DS Algo and many more, please refer Complete Interview Preparation Course .
The action bar is a primary toolbar inside an activity that can be used to display an activity title and other interactive items. One of the most used items is a Back Navigation Button. The back button is used to move backward from the previously visited screen by the user. Most Android devices have a dedicated back button still a back button on the action bar enhances the user experience.
Add Back Button in Action Bar
To create a new project in Android Studio please refer to How to Create/Start a New Project in Android Studio. There is no need to change anything in the activity_main.xml file. The only file we have to work with is Working with the MainActivity file.
- Create action bar variable and call function getSupportActionBar() in the java/kotlin file.
- Show back button using actionBar.setDisplayHomeAsUpEnabled(true) this will enable the back button.
- Custom the back event at onOptionsItemSelected. This will enable the back function to the button on the press. See the below code for reference. We have provided both the java and kotlin code for MainActivity.
Java
import android.os.Bundle;
import android.view.MenuItem;
import androidx.annotation.NonNull;
import androidx.appcompat.app.ActionBar;
import androidx.appcompat.app.AppCompatActivity;
public class MainActivity extends AppCompatActivity {
@Override
protected void onCreate(Bundle savedInstanceState) {
super .onCreate(savedInstanceState);
setContentView(R.layout.activity_main);
ActionBar actionBar = getSupportActionBar();
actionBar.setDisplayHomeAsUpEnabled( true );
}
@Override
public boolean onOptionsItemSelected( @NonNull MenuItem item) {
switch (item.getItemId()) {
case android.R.id.home:
this .finish();
return true ;
}
return super .onOptionsItemSelected(item);
}
}
Kotlin
import android.os.Bundle
import android.view.MenuItem
import androidx.appcompat.app.AppCompatActivity
class MainActivity : AppCompatActivity() {
override fun onCreate(savedInstanceState: Bundle?) {
super .onCreate(savedInstanceState)
setContentView(R.layout.activity_main)
var actionBar = getSupportActionBar()
if (actionBar != null ) {
actionBar.setDisplayHomeAsUpEnabled( true )
}
}
override fun onContextItemSelected(item: MenuItem): Boolean {
when (item.itemId) {
android.R.id.home -> {
finish()
return true
}
}
return super .onContextItemSelected(item)
}
}
Output:

Customize Back Button in Action Bar
We can easily Customize the Back Button by using the getSupportActionBar() library and setting the drawable file using setHomeAsUpIndicator in the java/kotlin file.
// Customize the back button
actionBar.setHomeAsUpIndicator(R.drawable.mybutton);
The complete code is given below.
Java
import android.os.Bundle;
import android.view.MenuItem;
import androidx.annotation.NonNull;
import androidx.appcompat.app.ActionBar;
import androidx.appcompat.app.AppCompatActivity;
public class MainActivity extends AppCompatActivity {
@Override
protected void onCreate(Bundle savedInstanceState) {
super .onCreate(savedInstanceState);
setContentView(R.layout.activity_main);
ActionBar actionBar = getSupportActionBar();
actionBar.setHomeAsUpIndicator(R.drawable.mybutton);
actionBar.setDisplayHomeAsUpEnabled( true );
}
@Override
public boolean onOptionsItemSelected( @NonNull MenuItem item) {
switch (item.getItemId()) {
case android.R.id.home:
this .finish();
return true ;
}
return super .onOptionsItemSelected(item);
}
}
Kotlin
import android.os.Bundle
import android.view.MenuItem
import androidx.appcompat.app.AppCompatActivity
class MainActivity : AppCompatActivity() {
override fun onCreate(savedInstanceState: Bundle?) {
super .onCreate(savedInstanceState)
setContentView(R.layout.activity_main)
var actionBar = getSupportActionBar()
if (actionBar != null ) {
actionBar.setHomeAsUpIndicator(R.drawable.mybutton);
actionBar.setDisplayHomeAsUpEnabled( true );
}
}
override fun onContextItemSelected(item: MenuItem): Boolean {
when (item.itemId) {
android.R.id.home -> {
finish()
return true
}
}
return super .onContextItemSelected(item)
}
}
Output:

Change Drawer to Back Button After Hitting Search Feature Android Studio
Source: https://www.geeksforgeeks.org/how-to-add-and-customize-back-button-of-action-bar-in-android/
0 Response to "Change Drawer to Back Button After Hitting Search Feature Android Studio"
Post a Comment